Door Staining Services for Property Owners
Visitors will learn about door staining options and how local contractors can help enhance and protect doors.
- - Residential homeowners seeking to enhance the appearance and durability of their entry doors.
- - Property managers or landlords maintaining multi-unit buildings and common entryways.
- - Contractors or handypersons looking to connect with local specialists for door staining projects.
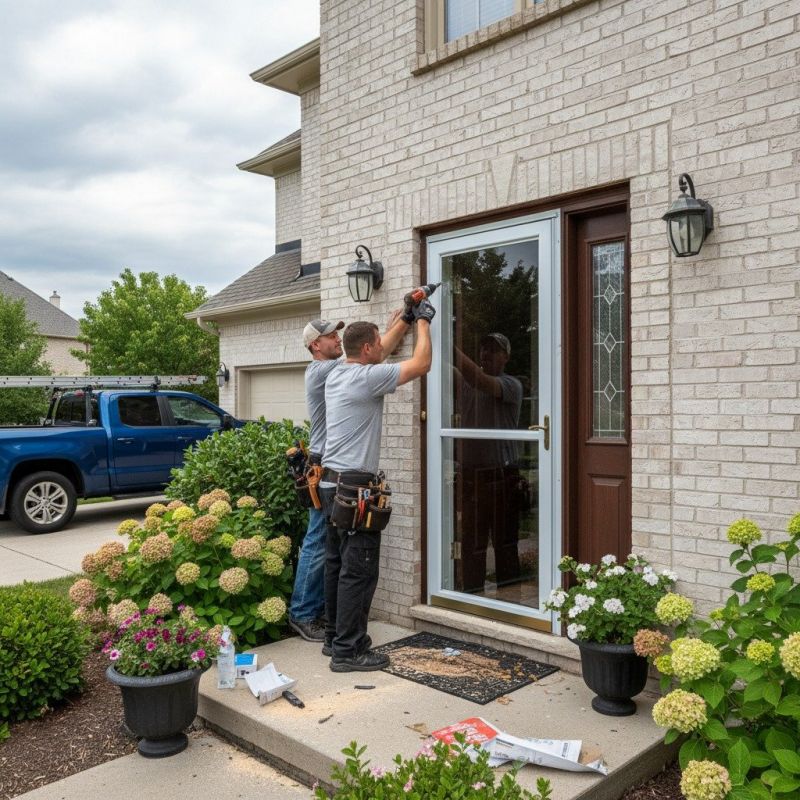

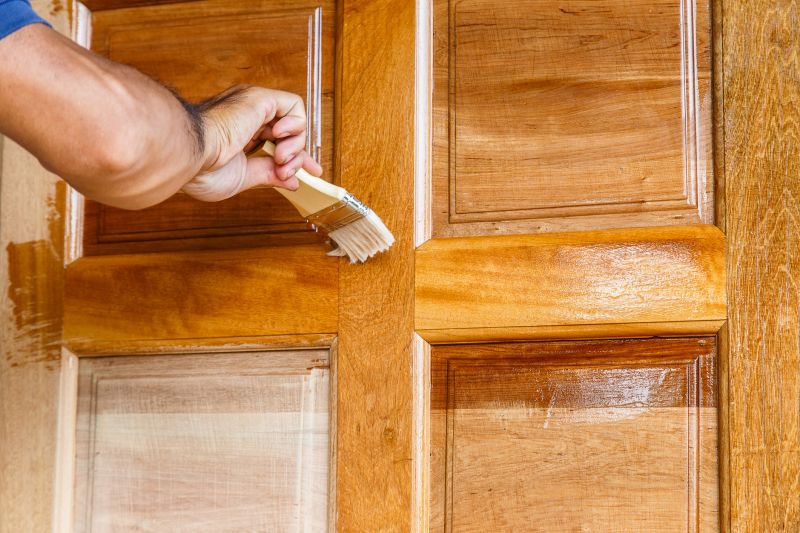
Door staining services are commonly sought by property owners looking to enhance the appearance and durability of their exterior doors. Local contractors specializing in door staining typically handle tasks such as preparing the surface, applying stain or finish, and ensuring a smooth, even coat. These professionals can work with a variety of door materials, including wood and fiberglass, helping to restore or update the look of a home’s entryway. Homeowners often turn to local service providers for their expertise in achieving a polished, long-lasting finish that complements their home's style.
Connecting with local pros for door staining allows property owners to compare options and find experienced contractors in their area. These service providers focus on delivering quality results through proper surface preparation, precise application, and attention to detail. Whether updating a single door or multiple entries, local contractors can assess the specific needs of each project and recommend suitable staining solutions. This approach helps homeowners make informed decisions and find the right professional to achieve their desired aesthetic and protection for their doors.
This guide provides helpful information to compare and evaluate local contractors who specialize in door staining services. It aims to assist in understanding the key factors involved in choosing a service provider. By using this guide, visitors can better prepare to discuss their project needs with qualified local professionals.